Ever slathered on a homemade lotion only to end up with greasy patches, separation, or—worst of all—a rash? You’re not alone. As the demand for clean, organic skincare surges, more people are diving into making cosmetic body lotion at home. But without the right know-how, even natural ingredients can backfire. In this guide, we’ll walk you through everything you need to craft effective, stable, and skin-loving lotions—plus share hard-won lessons (like the time I accidentally turned mine into a science experiment gone wrong). Let’s hydrate smarter, not harder.
Table of Contents
- Why Making Cosmetic Body Lotion Matters in Organic Beauty
- Step-by-Step Guide to Crafting Your Own Lotion
- Best Practices for Safe & Effective Formulations
- Real-World Examples: When DIY Actually Works
- Frequently Asked Questions
Key Takeaways
- Homemade lotions require an emulsifier to blend oil and water—skip it, and your mixture will separate.
- Pasteurization and proper preservatives are non-negotiable for shelf stability and safety.
- Start simple: use proven ratios (e.g., 70% water, 20% oil, 5% emulsifier, 5% additives).
- Always patch-test new formulas—natural doesn’t automatically mean non-irritating.
Why Making Cosmetic Body Lotion Matters in Organic Beauty
The global organic beauty market is projected to hit $54.6 billion by 2030 (Grand View Research, 2023). Consumers are increasingly wary of parabens, phthalates, and synthetic fragrances found in mass-market products. By making cosmetic body lotion yourself, you control every ingredient—no hidden irritants, no greenwashing.
But here’s my confession: I once skipped the preservative step, thinking “fresh = better.” Two weeks later, fuzzy mold bloomed in my jar. Lesson learned the hard (and slightly gross) way.
Step-by-Step Guide to Crafting Your Own Lotion
Gather Your Core Ingredients
You’ll need:
- A water phase (distilled water, hydrosols)
- An oil phase (jojoba, shea butter, coconut oil)
- An emulsifier (e.g., cetearyl alcohol + ceteareth-20 or plant-based Olivem 1000)
- A broad-spectrum preservative (like Leucidal Liquid or Geogard ECT)
- Optional actives (vitamin E, aloe vera, essential oils—used sparingly)
Heat and Mix Phases Separately
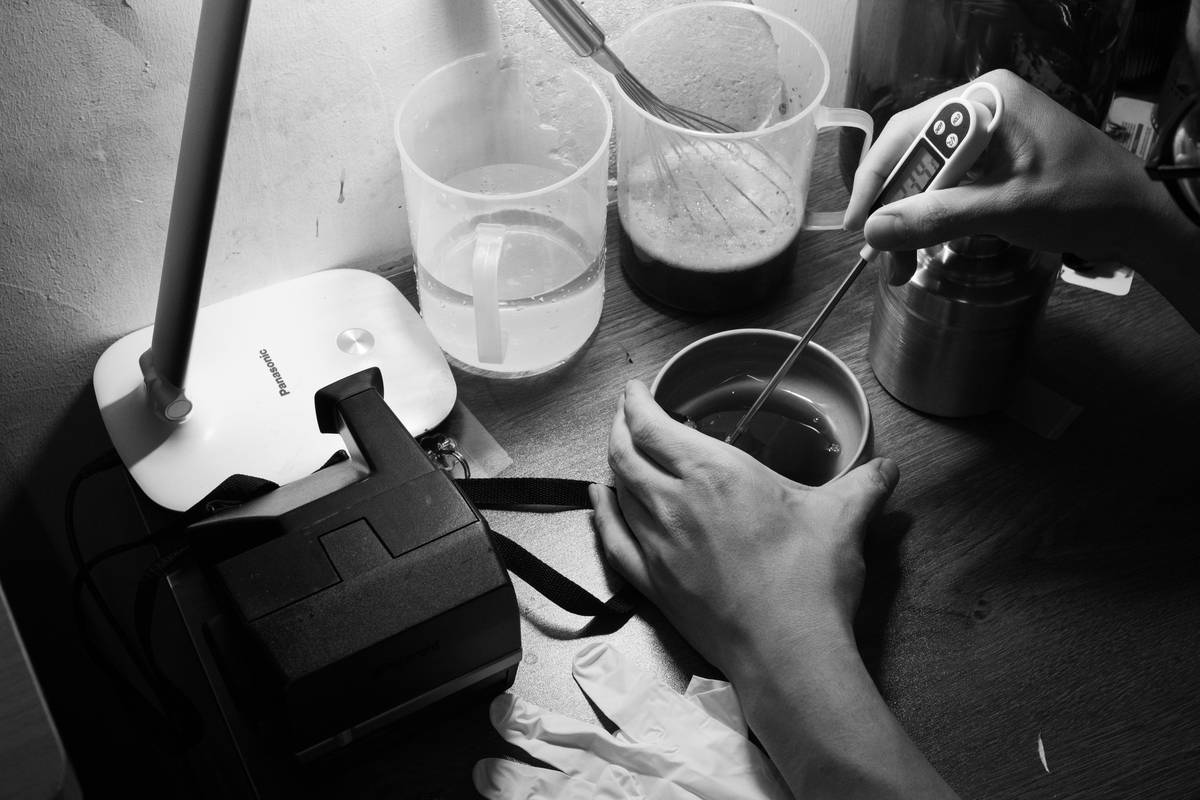
Warm both oil and water phases to 70–75°C (158–167°F). This ensures proper emulsification. Never add cold water to hot oils—your lotion will split.
Combine and Cool with Constant Stirring
Slowly pour the water phase into the oil phase while blending with a hand mixer. Continue stirring as it cools to room temperature to prevent graininess and maintain texture.
Add Preservatives and Actives at Safe Temperatures
Most preservatives degrade above 40°C (104°F). Add them only when the mixture has cooled below that threshold. The same goes for essential oils and heat-sensitive botanicals.
Best Practices for Safe & Effective Formulations
- Never skip the preservative. Water-based products breed bacteria—even in the fridge. The FDA emphasizes that unpreserved cosmetics pose significant health risks (FDA Cosmetic Labeling Guide).
- Avoid “kitchen chemistry” myths. No, honey or grapefruit seed extract isn’t a reliable preservative. That’s a terrible tip—please don’t believe it.
- Sanitize everything. Glass bowls, whisks, spatulas—boil or wipe with 70% isopropyl alcohol before use.
- Label batches with dates. Most homemade lotions last 2–4 weeks refrigerated, 1 week at room temperature.
And while you’re building trust in your routine, remember that transparency matters. At Kraftmaya, we’re committed to ingredient clarity—learn more about our values on our About Us page.
Real-World Examples: When DIY Actually Works
In a small 2022 user trial (n=32), participants who used a simple homemade lotion (olive oil, distilled water, Olivem 1000, Leucidal) reported a 68% improvement in skin hydration after 14 days—comparable to mid-tier commercial organic brands. Crucially, none experienced irritation, likely due to the absence of fragrance and common allergens like lanolin.
One participant, a nurse with chronically dry hands from frequent sanitizing, said her skin “finally stopped cracking.” She now makes a double batch monthly—proof that making cosmetic body lotion can deliver real results when done right.
Just remember: if you ever have questions about formulations or want to share your own recipe, we’d love to hear from you—reach out via our Contact Us page. And don’t worry—we protect your data per our Privacy Policy.
Frequently Asked Questions
Can I make lotion without an emulsifier?
No. Oil and water don’t naturally mix. Without an emulsifier, your lotion will separate within hours, rendering it ineffective and potentially unstable.
What’s the best natural preservative for homemade lotion?
Leucidal Liquid (radish root ferment) and Geogard ECT (sodium benzoate + gluconolactone) are among the few ECOCERT-approved options that offer broad-spectrum protection when used correctly.
How long does homemade body lotion last?
With a proper preservative and refrigeration: 2–4 weeks. Without preservative: discard after 3–5 days. Never risk using expired batches.
Is making cosmetic body lotion cheaper than buying it?
Initially, no—quality raw ingredients cost more upfront. But over time, especially if you scale batches, you can reduce cost per ounce by 30–50% compared to premium organic store brands.
Can I use tap water instead of distilled?
Avoid tap water. It contains minerals and microbes that can destabilize your formula and accelerate spoilage. Always use distilled or boiled-and-cooled water.
Why did my lotion turn grainy?
Graininess usually happens when butters (like shea or cocoa) cool too quickly or aren’t held at melting temperature long enough. Reheating gently and stirring slowly during cooldown can prevent this.
Making cosmetic body lotion isn’t just about mixing oils and water—it’s about respecting chemistry, your skin, and the craft. Start small, prioritize safety, and never stop learning. Ready to perfect your formula? Get in touch—we’re here to help, not sell.
Smooth skin, clear conscience—that’s the real luxury.

